 Have you noticed that there is a white line that is showing up on your ID card prints? You’re probably asking, “Why does this keep happening?” Sometimes when you experience debris marks on your cards it’s simply the results of a dirty printhead or roller in which case a cleaning can take care of it. However, if you’re experiencing a solid white line, this likely means that your printhead is busted.
Identifying a Busted Printhead
If you’re printhead is busted, you will see a white line that runs down the length of your card. It will be predominant enough to appear as if it were intentionally printed directly onto the card, because it’s an area on the card where no ink was administered. It’s essentially a clean, bare spot on the card. The printer is simply unable to print on a specific area on the card due to a busted pixel. In this case, the only way to fix it is to replace the printhead altogether.
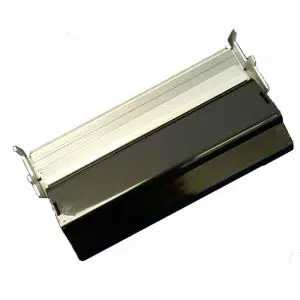
How to Replace a Printhead
While the specifics of replacing a printhead will vary a bit from printer to printer, here are 5 basic steps to help guide you through the process of replacing your printhead:
- First, open the lid of the printer.
- Place both of your thumbs on either side of the printhead bracket. (Do not directly touch the printhead itself)
- With your thumbs, press in and then up. This action will cause the printhead to pop out.
- Remove the cables that are attached to the old printhead and attach them to the new printhead.
- Finally, insert the replacement printhead in the same way it was removed, pressing in and down.
If you would like more information about purchasing a new printhead for your printer, give us a call today! We’d be happy to answer your questions and help you get back up and running. Call (866) 610-4308